From Blender to the game: a significant step
One issue that needs to be solved during game development is how to get the art from the modeling tool into the game.
The answer might seem to be trivial: "
Just export the model in a file format that can be read by the graphics engine!"
Unfortunately this is not as simple, even when both the modeling
software and your graphics engine support the same file format.
Content, content, metadata
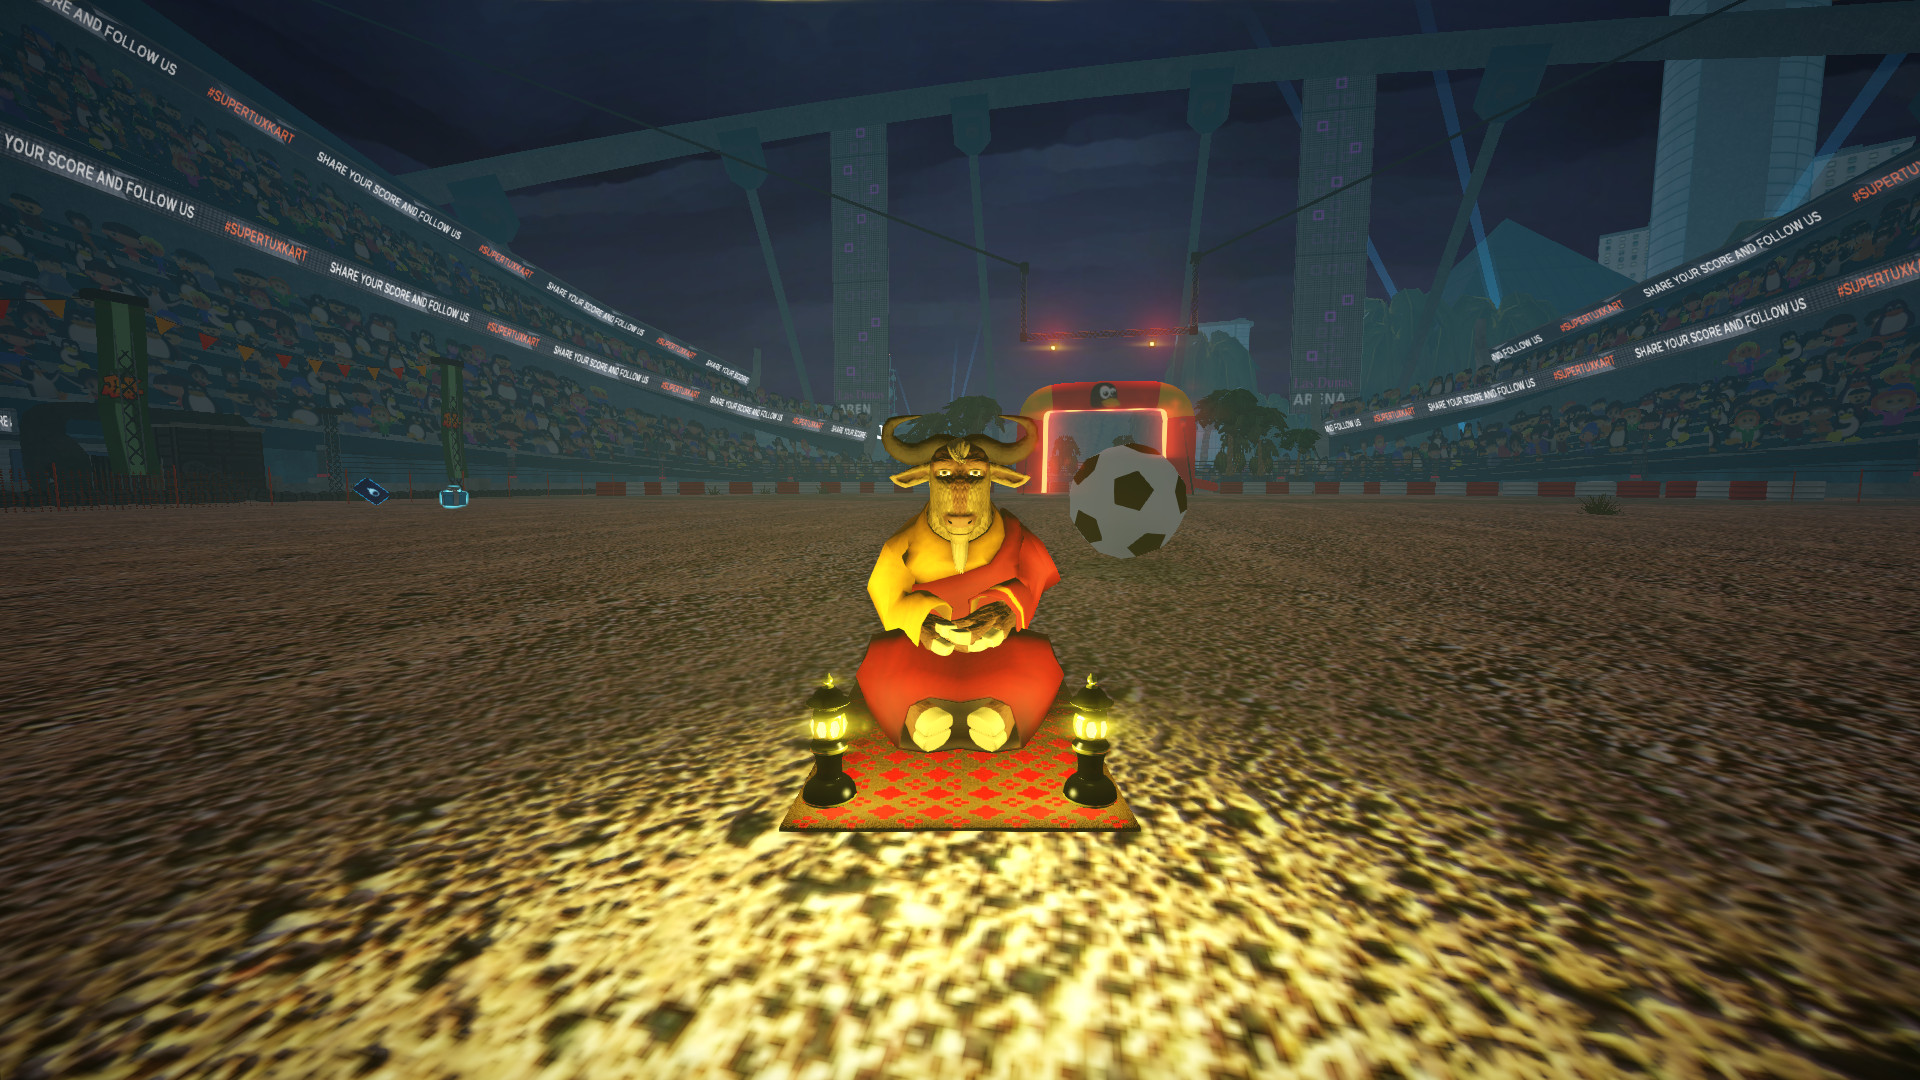
Many non-graphical pieces of information (metadata) need to be provided. In our racing game
SuperTuxKart (STK) for example, map models need further detail:
- Kart starting positions.
- Mesh of the driveway.
- Position of items boxes (powerups) and bananas (traps).
- Type of track (arena or racing).
- Name of the map designer.
- Can the map be driven in reverse?
- What music should be played?
- How to handle animated objects?
- What graphical effects (particles, animated textures, snow) and what sounds should be used and where?
- Optimizations like backface culling.
Re-inventing the wheel... not!
Usualy, the answer to these questions is to create a separate editor
which allows 3D modeling and exports the additional data necessary to
actually use a level or object (or kart) in the game.
Creating and maintaining such a piece of content pipleline requires
resources and can slow down or even halt other development, depending on
the team size. With the three free-time programmers on our team, we
couldn't afford this investment.
A track editor has been developed by a community member years ago,
but it was never even close to being able to design track of sufficient
quality and eventually was abandoned. Instead of restarting such an
effort, we chose a slightly different approach.
Extending the modelling tool
We extended the existing modeling tool commonly used for creating tracks:
Blender (a tool used for example by the renowned indie game creators
Wolfire),
so that the necessary options can be set in Blender's GUI. Our scripts
for exporting tracks and karts make these options available in game.
This method reduces development time and allowed a tool, that is
already known to many artists out there and has tons of documentation
available, to create content that is perfectly fit four our game. We
only need to document our specific extensions.
SuperTuxKart map and extended panels in Blender
The magic behind the scene that makes it possible to take a map in
Blender and run it in SuperTuxKart is made up by several Python plugins.
The first plugin, which can be seen in the screenshot, is the “Panel”
plugin. Once this plugin is added to Blender, a few game-specific panels
appear in the properties view (one for object properties, one for scene
properties, one for material properties).
With a few clicks in the properties panel, you can change the sky,
make it snow or rain, add fog, make a water surface animated or specify
that particles or sound effects are emitted from a point!
Models
There is first the track export script, which reads these properties
and exports them to XML files for the game core to read (which includes
support for moving/animated objects). The “B3D” script also exports the
mesh to the B3D file format (which also supports skeletal animation, as
well as vertex colors and multiple UV maps for lightmaps and normal
maps).
None of this would have been possible had Blender not been so
scriptable. Our panel script can serve as example documentation for
anyone who wants to make a custom Blender panel. The scripts actually
load the description of the contents of the panel from declarative XML
files, making it easy to change the contents of the panel. Interested?
All of our scripts are open-source and available for both private and commercial use under the GNU GPL license.
Materials
The materials panel automatically lists all textures in the blend file, and allows specifying several properties, for example:
- Surface properties, when player is in contact with it:
- Is a particle or sound effect emitted?
- Does it slow down or speed up the player or have a non-standard tire grip?
- Do players pass right through it?
- Viewable texture properties
- Transparency/opaque value
- Transparency effect (Alpha Testing, Alpha To Coverage or Alpha Blending)
- Shaders (for example normal maps, splatting, water reflections, lightmaps, sphere mapping)
Powerups and traps (goodies and baddies)
It's nice to have the static model, but after all this is a game so
we need to give the player some goodies and baddies! Fortunately there
is an easy way to add them : our plugins extend the global "Add" menu of
blender with new object types specific to SuperTuxKart, like gift
boxes, nitro or bananas.
Drivelines and checklines
Finally, how does the AI know where to drive, and how do we check
that human players do not cheat? We chose to use a set of simple meshes,
called
drivelines, to indicate where players may drive.
Driveline mesh in Blender
These simple meshes are then processed by the exporter into something
that is easy to import in the game and to follow by AIs. Checklines are
added in addition to that to prevent cheating.
As a bonus, drivelines do not need to be linear, but may be exported
as a graph, allowing for quite complex structures to be constructed
directly inside Blender.
Conclusion
While the Python API documentation is not always optimal, and while a
few API changes broke everything and made us swear loudly in the past,
Blender's Python API is very flexible and powerful and a vital part of
our game development workflow, which will hopefully inspire others to
design their tools with it.
Always on the lookout for content creators
We are always looking for modellers to help us improve our older,
less impressive worlds. :) If you have experience in modelling and you
feel like helping, you will be warmly welcomed on our
forum,
mailing list and
IRC channel!
Further details of our map-making process can be found in the
Track Maker's Guide.
This post was written as a collaborative effort by Arthur, Auria, hiker and qubodup.